
Lawn Sprinkler Repair: How to Fix Heads and Leaks Yourself
A geyser in the front yard, a brown patch that keeps growing, or a zone that never turns on. Any of these means your system needs fixing, and the sooner the better. In Central Florida's heat, a broken head can waste hundreds of gallons and scorch turf in a matter of days.
Good news: most lawn sprinkler repair jobs are simple. A cracked head, a clogged nozzle, or a small leak at a fitting takes under an hour and a few dollars in parts . You need to find the problem, shut off the water, and swap the damaged piece. Deep leaks, bad valves, and wiring faults are different, and those are worth a call to a pro.
Below, you'll learn how to locate leaks and broken heads , replace them step by step, and tune the spray so it hits grass instead of pavement. We'll also flag the signs that a repair is beyond DIY. At TWQ, we've installed and repaired irrigation systems around Sebring for over 20 years, so these are the fixes we make every week.
Before you start: diagnose the problem
Repairs go faster when you know what you're fixing. Spend 15 minutes watching the system run before you pick up a shovel. A good diagnosis tells you whether you need a $5 nozzle or a new valve, and it keeps you from digging up half the yard to find a problem that was ten feet away.
Match the symptom to the likely cause
Most failures leave a visible clue in the lawn. Use this table to narrow down the cause before you test anything.
| What you see | Likely cause | DIY friendly? |
|---|---|---|
| Geyser or fountain at one spot | Broken head or cracked riser | Yes |
| Weak, misting spray | Clogged nozzle or low pressure | Yes |
| Head won't pop up | Sand, debris, or worn seal | Yes |
| Soggy spot, even when the system is off | Leaking valve or buried line | Sometimes |
| Soggy spot only while a zone runs | Broken lateral pipe or fitting | Sometimes |
| One zone never starts | Bad solenoid, wiring, or valve | Sometimes |
| Whole system dead | Controller, rain sensor, or power | Check first |
Run each zone and take notes
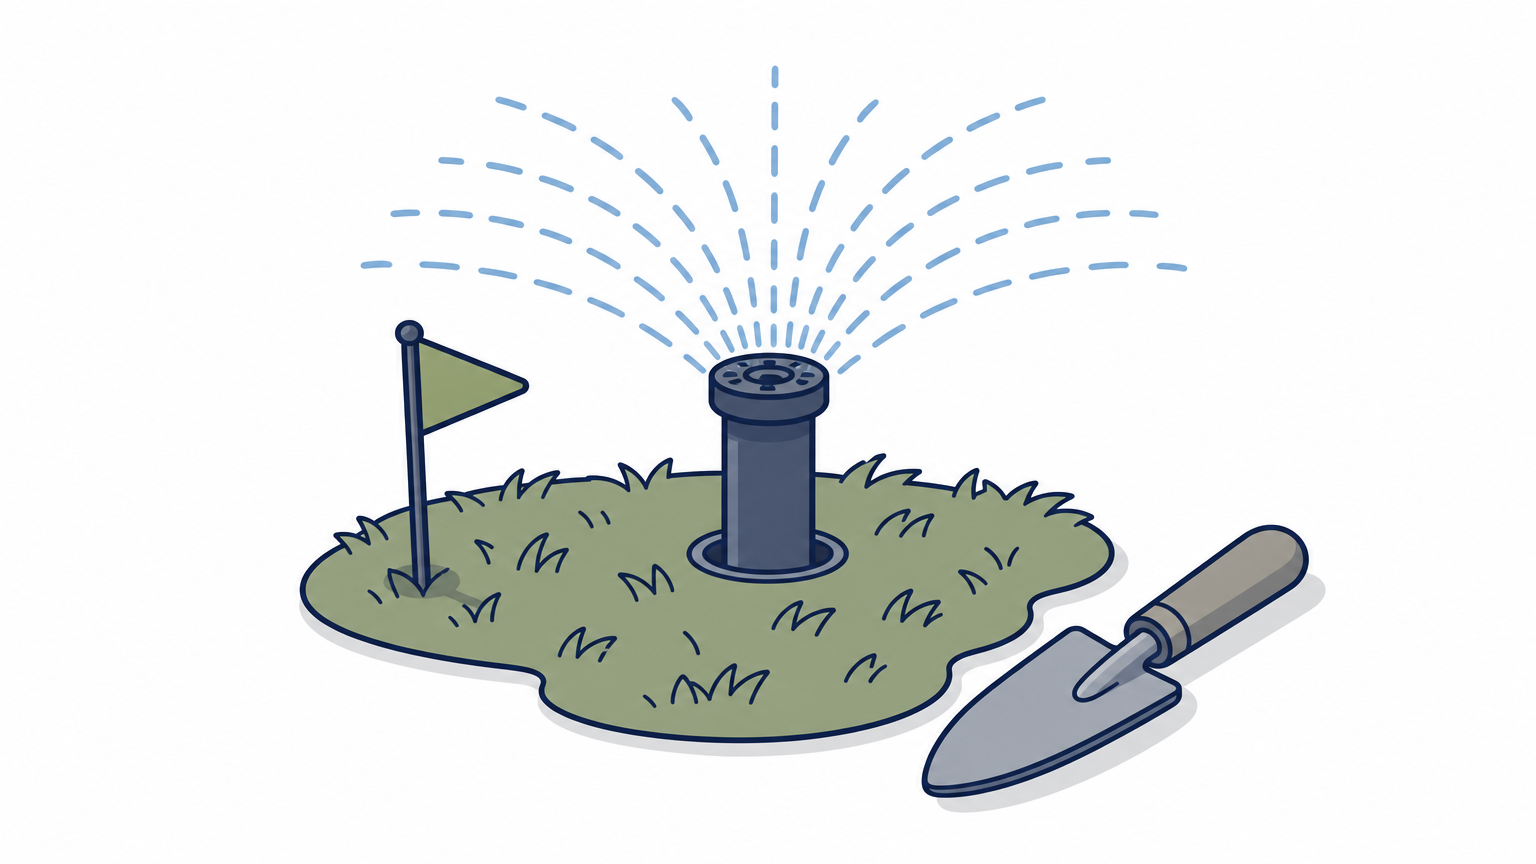
Now run the system manually from your controller, one zone at a time . Walk each zone and look for heads that are tilted, sunken, clogged, or spraying the wrong way. Mark every problem with a pin flag as you go. Ask yourself four things at each head:
- Does it pop up fully?
- Is the spray pattern even?
- Does the water reach the next head?
- Is water bubbling up or pooling nearby?
Pooling that appears only while a zone runs points to a broken pipe or fitting downstream of the valve. Water that shows up with the system off usually means a valve that won't seal . That difference decides where you dig.
Flag every problem first, so you open the ground once instead of five times.
Gather parts before you dig
Take one broken head to the hardware store so you can match it. Brand, pop-up height, and thread size matter, and Florida's sandy soil wears out cheap heads quickly. Buy a spare while you're there. Here's a basic kit for most repairs:
- Replacement head (same height: 2, 4, or 6 inches) and matching nozzle
- Slip coupling or repair coupling for cracked pipe
- PVC primer and cement, plus Teflon tape for threaded joints
- Hand trowel, small saw, and a tarp for the soil
Step 1. Shut off the water and expose the damage
Turn off the controller and the water
Start at the controller. Set it to "off" so a zone can't kick on while your hands are in a hole. Then shut off the water supply to the system. Most Florida systems have a ball valve near the backflow preventer, the pipe assembly with one or two handles that sits close to the house or water meter. Turn the handle a quarter turn so it sits crosswise to the pipe. If you can't find it, use the main house shutoff and let everyone at home know the water is off.
- Set the controller to "off" or rain mode.
- Close the irrigation shutoff valve.
- Switch the controller to manual and run the broken zone for 30 seconds. The spray should die out.
- Return the controller to "off."
Water off and controller off, before any shovel touches the soil.
Dig out the problem spot
Lay your tarp beside the damage. With a spade, cut a U-shaped flap of sod about 12 inches around the head or wet spot, then peel it back like a trapdoor. Set the flap on the tarp, grass side up, and pile the soil next to it. The grass will go back in place later and the lawn will barely show the repair.
Sprinkler pipe usually sits 6 to 12 inches down, so switch to a trowel once you get close. Low-voltage valve wires often run beside the pipe, and a spade blade can nick both in one swing. Scoop out the water and mud with a cup, and clear the soil around the break until you can see the whole fitting or pipe. Leave the hole open while it drains. If the line turns out to be deeper than a foot, call 811 before you dig any further, since other utilities may share the area.
Step 2. Replace or fix a broken sprinkler head
A broken head is the most common fix in lawn sprinkler repair, and the quickest. With the water off and the hole open, you can see whether the head needs cleaning or replacing .
Fix it or replace it
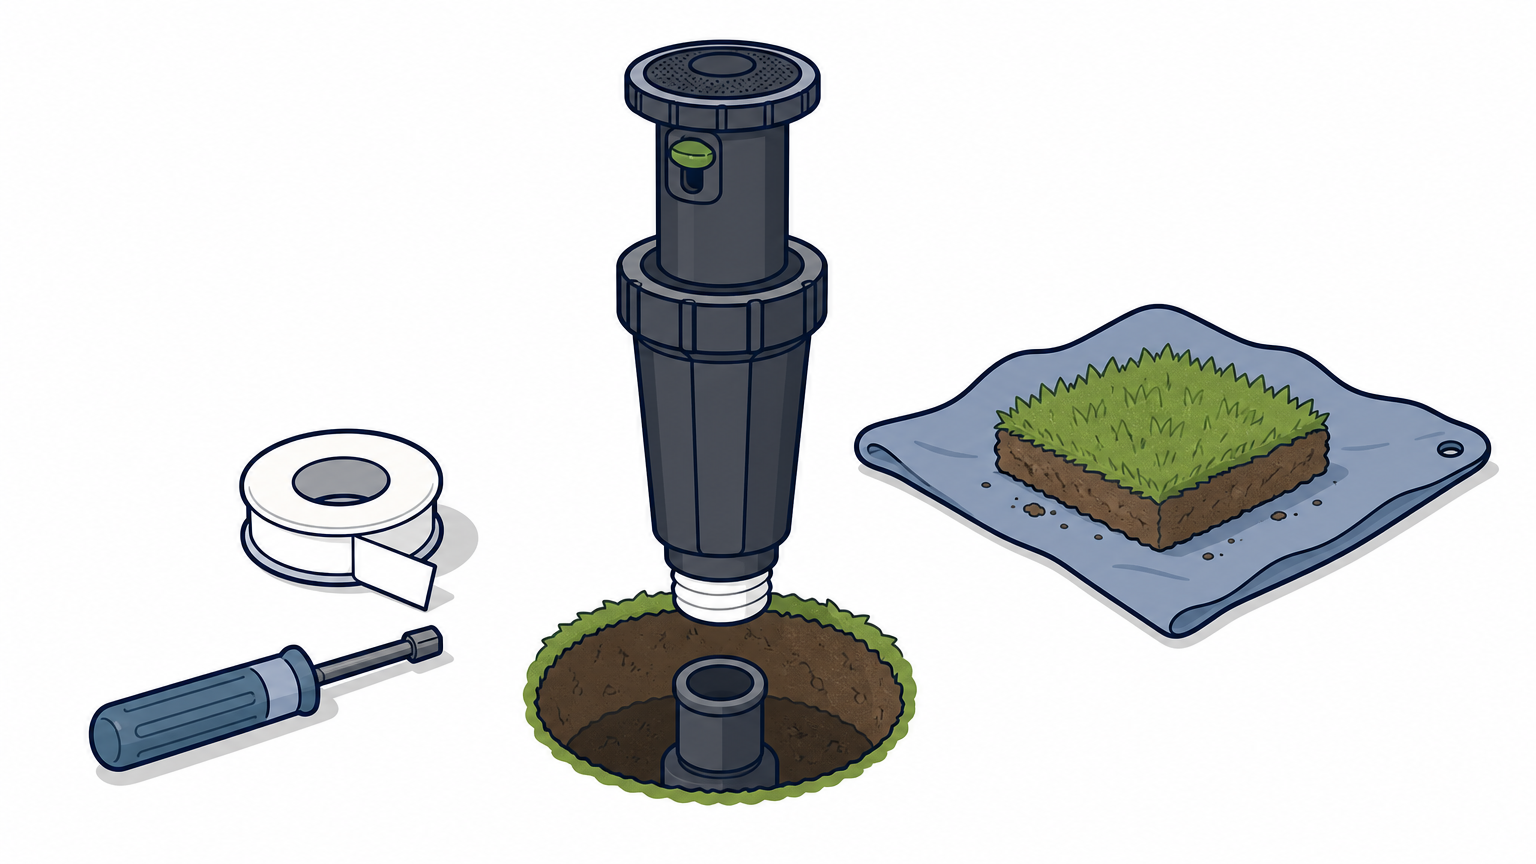
Before you buy anything, check the nozzle and filter screen . Many weak sprays are just grit. Unscrew the nozzle, rinse the small basket screen, and clear the opening with a pin.
Replace the whole sprinkler head if the body is cracked, the cap is chewed up by a mower, or the riser won't retract. A cracked body can't be patched , so skip the glue.
Swap in the new head
Unscrew the old head counterclockwise. Then flush the line . Turn the water on slowly and run that zone for a few seconds, with the open pipe aimed away from you, until it runs clear. Sand in the line will clog a new nozzle within minutes.
Flush the line before the new head goes on, or it clogs on day one.
Then install the head:
- Wrap 3 or 4 turns of Teflon tape clockwise around the threads.
- Hand-tighten the head onto the riser. A wrench can crack the threads.
- Set the cap level with the soil and just below the grass line, so the mower clears it.
- Adjust the arc and radius with the screw on top, using the small tool that comes with the head, until the spray misses the pavement.
- Backfill with soil, pressing it firmly around the body so the head can't tilt.
Leave the sod flap off for now. Test the zone first in Step 4, because a hole you can still see is easy to fix again.
Step 3. Repair leaks, valves, and solenoids
Leaks and valve faults take more patience than a head swap, but a handy homeowner can still manage them. With the hole open from Step 1, you can tell whether you're facing a pipe break or a valve problem .
Fix a cracked pipe or loose fitting
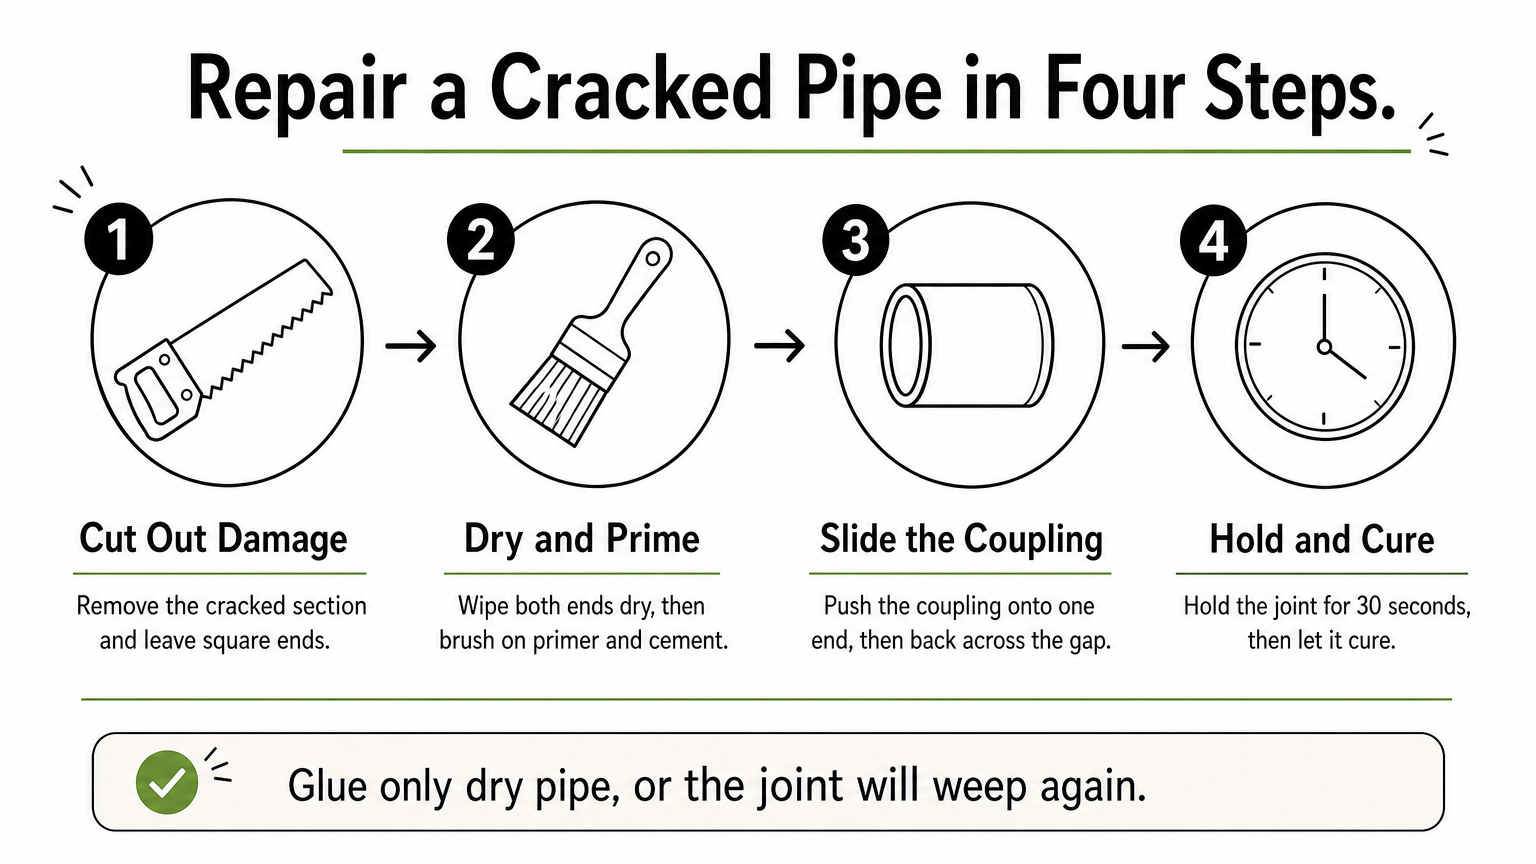
Pipe repairs only hold on dry, clean ends . Bail out the water, then cut out the damaged section with a small saw. A slip coupling , also sold as a repair coupling, lets you rejoin the line without digging up more pipe.
- Cut out the cracked section and leave square ends.
- Wipe both ends dry, then brush on PVC primer and cement.
- Slide the coupling fully onto one end, then pull it back across the gap.
- Hold the joint for 30 seconds and let it cure as the can directs before turning the water on.
Glue only dry pipe, or the joint will weep again within a week.
Test the valve and solenoid
When a zone never starts, suspect the solenoid , the small electric coil on top of its valve. Open the valve box and work through this list:
- Turn the solenoid a quarter turn counterclockwise with the water on. If the zone runs, the valve is fine and the fault is wiring or the controller.
- Unscrew the solenoid and check the plunger for grit.
- Touch multimeter probes to the two wire leads. Most 24-volt solenoids read roughly 20 to 60 ohms. No reading means a dead coil.
- Replace a dead solenoid. It's an inexpensive part.
Sprinkler valves that leak with the system off often have debris under the diaphragm. Close the water, remove the bonnet screws, and rinse the rubber diaphragm. A torn one needs replacing, and a cracked valve body is a job for a pro.
Step 4. Test the system and know when to call a pro
Repairs aren't finished until you've watched them run. Open the irrigation shutoff valve slowly so trapped air escapes and the pipes don't hammer. Then run the repaired zone from the controller for one full cycle.
Check the repair before you backfill
Watch the new head and every joint for a few minutes. A fitting that weeps now won't stop on its own. Check each point below while the hole is still open:
- No bubbling or seeping at the coupling or valve.
- The head pops up fully and drops back down.
- The spray reaches the next head without hitting pavement.
- Pressure looks even across the whole zone.
A repair that passes a full zone cycle with the hole open will pass for years.
Next, run the other zones too, because digging can nick wires or loosen fittings nearby. Once everything holds, backfill and press the sod flap back into place. Water it lightly for a week so the edges knit.
Know when to call a pro
Some lawn sprinkler repair jobs cost more when you attempt them blind. Call a licensed irrigation contractor if you see any of these:
- Water still seeps from a valve after you cleaned the diaphragm.
- The valve body or manifold is cracked.
- The same wet spot returns after you replaced a fitting.
- Several zones are dead, or the solenoid tests fine but nothing runs.
- The backflow preventer leaks.
- The pipe sits deeper than a foot and the hole keeps flooding.
If you're in the Sebring area, we handle these repairs and can also tell you whether an aging system is worth patching or replacing.
Keeping your sprinklers working
Most lawn sprinkler repair comes down to the same routine: diagnose the symptom, shut off the water, dig carefully, swap the broken part, and test before you backfill . Follow those steps in order and a cracked head or small leak is an afternoon job , not a landscaping emergency.
Prevention keeps the jobs small. Walk each zone once a month and look for tilted heads, weak spray, and soggy spots . Catching a problem early costs a few dollars in parts, while ignoring it can cost you a patch of turf and a higher water bill.
When a fix is beyond what you want to tackle , or the system keeps failing, bring in help. TWQ has maintained and repaired irrigation systems across Sebring and nearby Central Florida towns for over 20 years . Talk to TWQ about irrigation repair for your sprinkler system and we'll get every zone running right.