
Paver Edge Installation in Sebring: How to Do It Right
Paver edge installation comes down to four moves: choose a restraint that suits your soil and traffic, compact a base that extends past the border, lay and cut a clean border, then lock that border in place before you sweep in joint sand. On Sebring's sandy ground, a concrete restraint is usually the better choice, and a buried concrete footer is the strongest option for driveways.
The edge is where paver jobs fail. Once the border starts to spread, the pavers lose their interlock, then they shift and sink. Plastic strips and spikes depend on firm soil to bite into, and soft sand gives them very little. By the time you see a gap at the edge, the damage is already underneath.
This guide walks you through the whole job in order, whether you are edging a patio, a walkway or a driveway. It covers the decisions that matter most: which restraint to use, how deep to build, and when each type goes in. TWQ is a family-owned landscaping company in Sebring with over 20 years of experience, and the steps below follow how we think a paver border should be built in this area.
Why paver edges fail and what you need first
An edge restraint stops your border pavers from spreading sideways, and without a good one even a well-compacted base slowly loses its shape. Know what it does, gather your tools, and check the rules before you dig.
What the restraint does
Pavers stay flat because they are locked against each other. Every footstep, wheel and rainstorm pushes outward on the outer row of pavers , and the restraint pushes back. When it fails, the interlock is lost and the surface spreads, shifts and sinks. Sandy soil makes this worse because it offers little resistance to anything pushed into it.
A quick note on terms. The paver border is the row of pavers, often a soldier course laid end to end, that frames the field. The edge restraint is the part that holds that border. Paver border installation and paver edging installation both cover the two together, so this guide treats them as one job.
A paver surface is only as stable as its outermost row.
Tools and materials
Gather everything before you dig, because base and sand work goes better without long pauses. A plate compactor is the one tool you cannot skip, and it rents by the day.
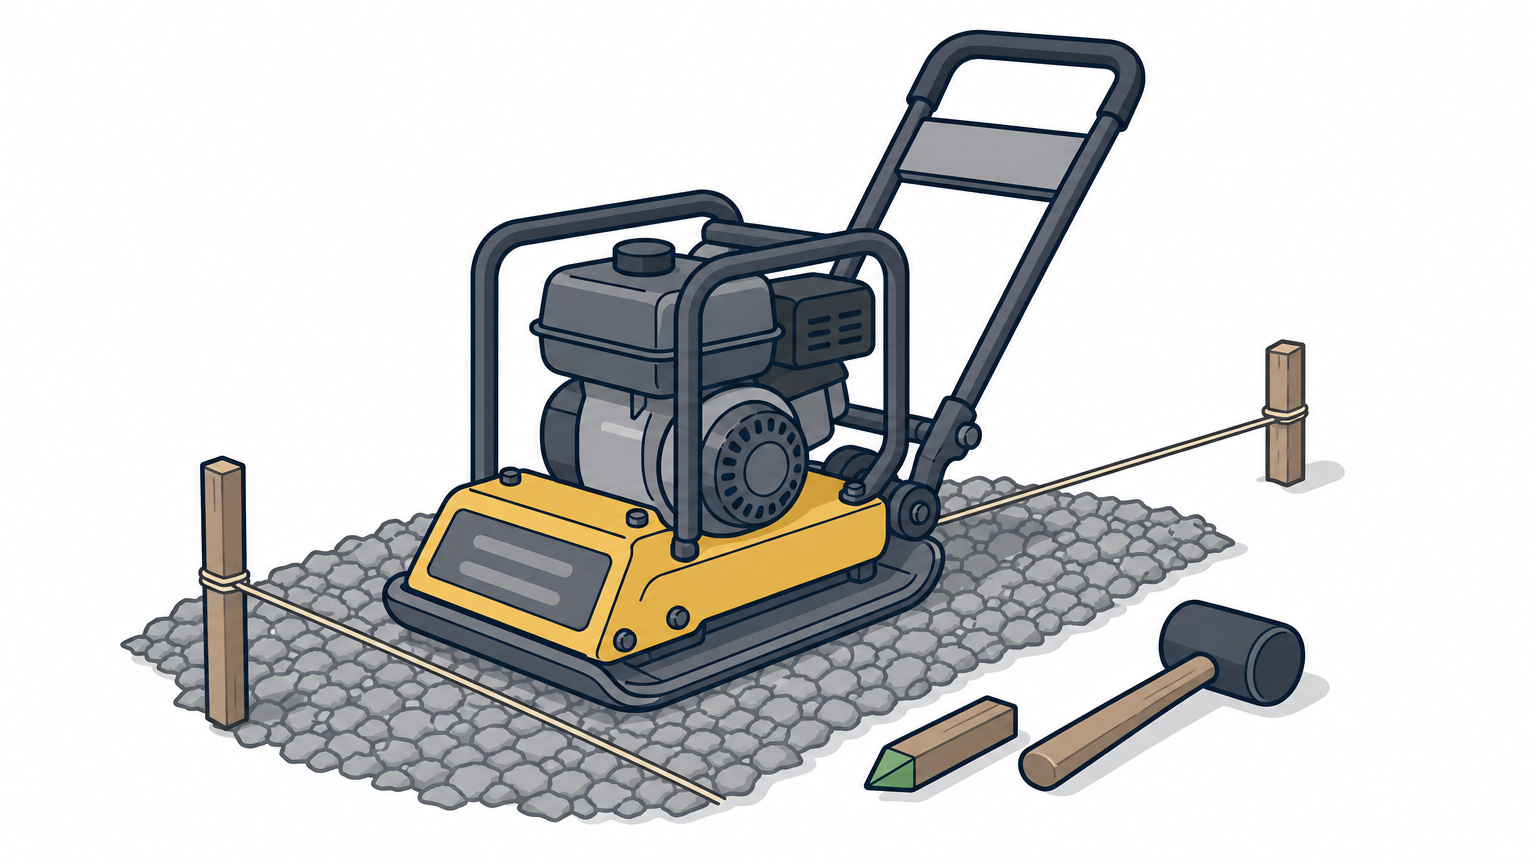
- Vibratory plate compactor
- Stakes, string line, line level and tape measure
- Crushed base material and bedding sand
- Joint sand, or polymeric sand for a firmer joint
- Rubber mallet and a wet saw or concrete saw
- Your restraint: L-shaped strips with spikes, or concrete mix, a trowel and thin-set mortar for a footer
Permits, HOAs and when to hire out
Florida has no single statewide rule for pavers, so your city, town or county decides what needs a permit. Many on-grade patios and walkways need none, while a driveway that meets a public road or changes drainage often does. Call your building department, and check your HOA's color and layout rules before you order materials.
A patio border is a fair weekend project. A driveway border or a long concrete footer is heavy, time-sensitive work, and a crew with the right equipment saves days. TWQ installs paver patios, walkways and driveways and offers a free estimate if you would rather hand that part off.
Step 1. Choose the right edge restraint
For patios and walkways on Sebring's sandy ground, choose a concrete restraint. For driveways, choose a concrete footer under the border. Save plastic or metal strips for curves and light-duty paths where you can extend the base well past the edge.
Compare the three common types
The best type of edging for pavers depends on the load and the soil, not on looks. This table sets the three common options side by side.
| Type | How it holds | Best for | Drawback |
|---|---|---|---|
| Plastic or metal L-strip | Spikes driven through the strip into the base | Curves and light-duty walkways | Spikes can loosen in soft sand |
| Troweled concrete collar | Concrete in a 3 to 4 inch trench beside the border | Patios and low-traffic areas on a budget | Sits near the surface and cracks if thin or badly mixed |
| Concrete footer under the border | Concrete 6 to 9 inches wide and 3 to 4 inches deep, bonded with thin-set | Driveways, pool decks, edges against fences | More concrete, more labor, more time |
Plastic and metal strips are cheap, easy and flexible, but they rely on spikes holding in the base, and soft sand is a poor home for spikes . A troweled collar is quick and low cost, though it often ends up exposed and can interfere with edging equipment along the lawn. A footer costs more, yet it bonds the whole border into one piece and stays buried, so sod or mulch can run right up to the pavers.
Choose the restraint for the soil and the load, not for the lowest price per foot.
Estimate your materials
Take a 12 by 16 foot patio with one long side against the house. The perimeter is 56 feet, minus 16 feet along the house, which leaves 40 feet of open edge to restrain. Here is what each option needs for that edge:
- Plastic or metal: 40 feet of strip and about 40 spikes at 12-inch spacing, plus extras on curves.
- Troweled collar: a trench 3 to 4 inches wide and deep holds about 2.5 to 4.4 cubic feet of concrete. An 80-pound bag yields roughly 0.6 cubic foot, so plan on 5 to 8 bags.
- Footer: 6 to 9 inches wide and 3 to 4 inches deep holds about 5 to 10 cubic feet, or 9 to 17 bags.
Buy a few extra bags for waste. The footer range is wide because your border width and depth set the volume.
Step 2. Prepare the base and set the layout
Mark the layout, call 811, excavate, and compact the base in thin layers so it reaches past the border. Every later step depends on this one, and nobody sees it afterward.
Call 811 and mark the layout
Call Sunshine 811 at least two business days before you dig . The service is free, it marks public underground utilities, and Florida law requires it before excavation. Then paint the outline, square it to the house, and set stakes and string lines for the finished height.
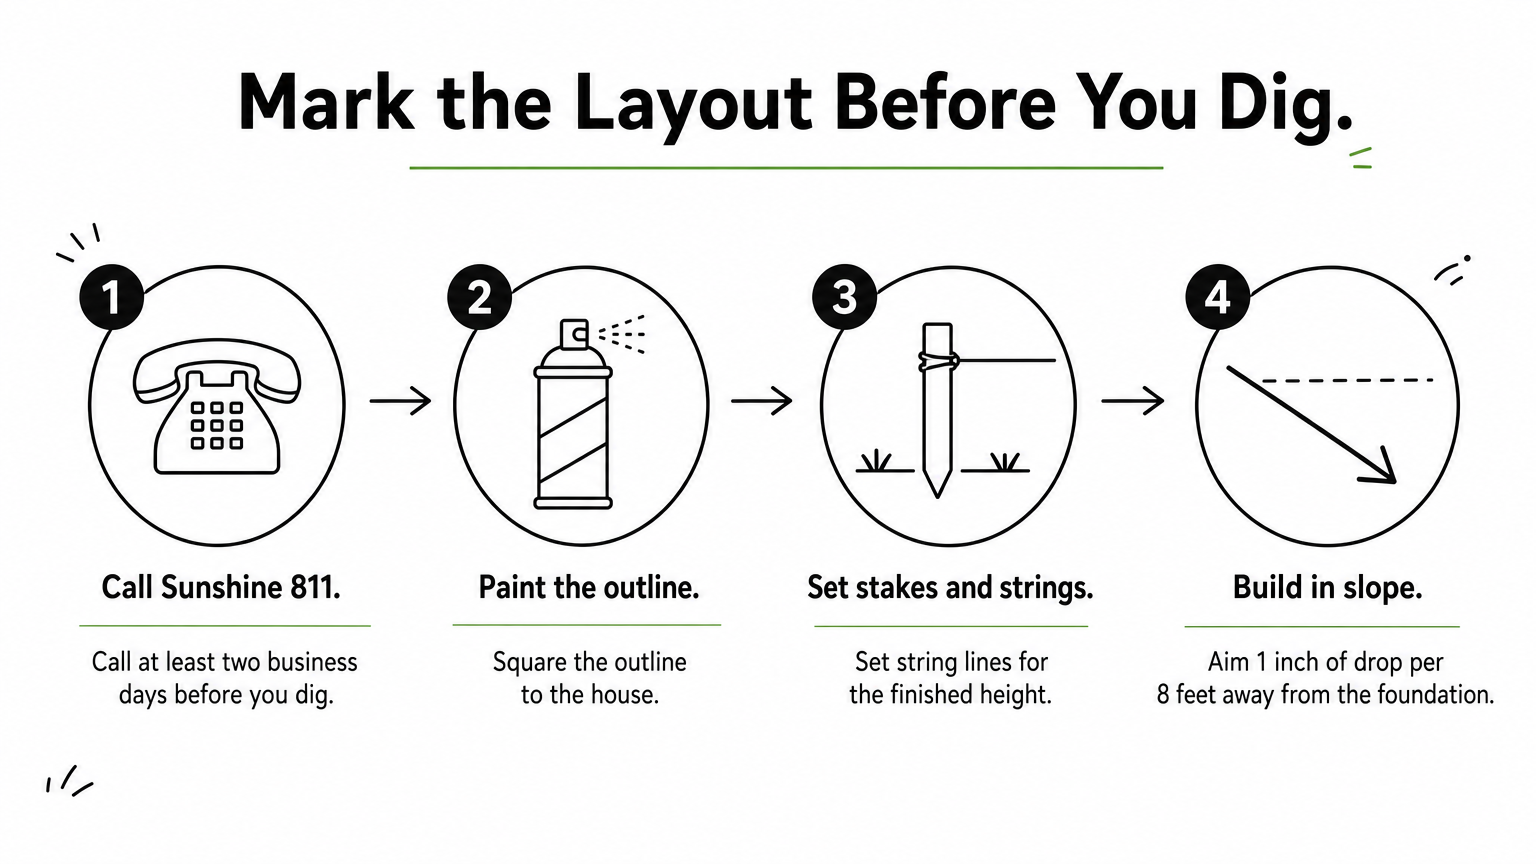
Build in a slope of at least 1%, which is 1 inch of drop per 8 feet , aimed away from the foundation. Summer downpours in Central Florida make drainage a requirement. A flat paver surface that holds water will undermine its own edge.
Excavate and compact the base
Dig deep enough for the base, an inch of bedding sand and the paver thickness. Pull out roots and vegetation, because buried roots rot and cause settling. Use 2 to 3 inches of crushed base for patios and walkways and 4 to 6 inches for driveways.
Most small plate compactors only reach 3 to 4 inches deep, so compact in lifts of that thickness and dampen dry material. If you chose plastic or metal strips, extend the base at least 6 inches beyond the border edge. Finish with up to 1 inch of bedding sand, screeded smooth and left uncompacted so the pavers can seat during final compaction.
Edge stability starts with a base that reaches past the border.
Step 3. Lay the pavers and cut the border
Lay the field pavers from a square starting line using the click-and-drop method. Run them past your cut lines, cut the edge in place, then set the border. This is the paver border installation stage, and clean cuts here make the restraint easy later.
Lay the field pavers
Start at a corner and snap chalk lines every few feet to keep the pattern square. Never drag a paver into place, because it pushes bedding sand into the joints and opens gaps. Hold each paver about 1 inch above the base, touch it against its neighbor (click), then lower it (drop). If your pavers are a color blend, pull from several pallets at once so the color spreads evenly.
Cut the edge and set the border
Let the pavers run beyond the edge, then mark the cut. Use a chalk line for straight edges and a small, flexible PVC pipe to trace curves. Cut in place with a saw , remove the offcuts, and set the soldier course border against the cut line. Curved borders need pie-shaped cuts so the border pavers meet tightly.
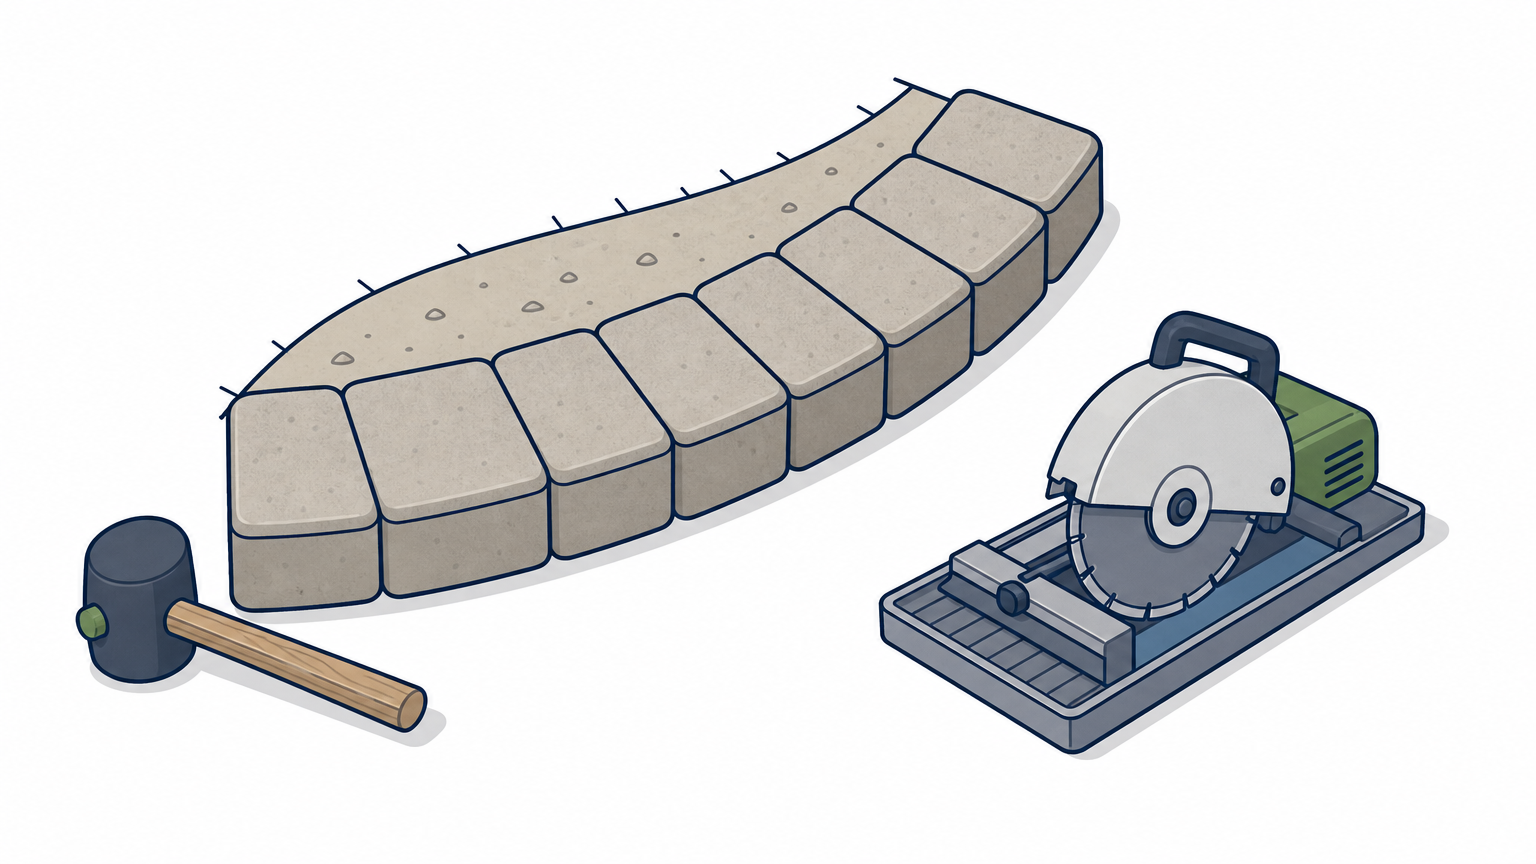
If you chose a footer, the order flips. Pour the footer before the border, then spread thin-set on the bottom of each border paver and set them one at a time with a mallet . On a driveway, the footer must span the full border width. Pavers over sand flex and pavers over concrete do not, so a border sitting half on each will crack.
Cut the edge in place first, then build the border to match it.
Step 4. Install the restraint and finish the joints
Plastic, metal and troweled restraints go in after the border is set and before joint sand and final compaction. A footer goes in before the border. That answers the common question of whether edging comes before or after the pavers: it depends on the type.
Secure the edge by type
Run your irrigation zones first, since spikes and trenches cut lines. Then follow the method for your restraint:
- Plastic or metal strip: Press it tight against the border with its bottom level with the bottom of the pavers. Drive spikes at least 10 inches long every 12 inches, closer on curves, then backfill and compact the base beyond it.
- Troweled collar: Cut a trench 3 to 4 inches wide and deep along the outside of the border. Fill it with properly mixed concrete and trowel it smooth. A weak or thin mix is what cracks.
- Footer: It is already poured. Press on the border and confirm no paver rocks.
Test the irrigation again afterward. A cut line found now is a small repair, while one found after sodding means digging up finished work.
Joint sand, compaction and final check
Spread a thin, dry layer of fine sand over the surface. Run the plate compactor over the whole area to seat the pavers and vibrate sand down the joints. Sweep the leftover sand back and forth, add more, and repeat until the joints are at least two thirds full . Polymeric sand hardens when wet, limits weeds and deters ants, so follow its label if you use it.
Finish with a hose test. Water should run away from the house, not toward it. Backfill soil or sod against the edge, and recheck the joints after the first heavy rain , since sand settles in the first weeks.
Set the restraint before the final compaction, then top up the joints after the first rain.
Get the edge right and the rest stays put
A good paver edge comes from four steps done in order: pick a restraint that fits your soil and load, build a base that reaches past the border, cut and set a tight border, and secure it before the final compaction. In sandy ground, concrete beats spikes, and a footer is the safest choice under vehicles.
If you would rather have a crew handle the base, border and footer, request a free estimate from TWQ. We will walk your property in Sebring or a nearby town and give you a written price.