
How to Repair an Irrigation Sprinkler System Yourself
A broken sprinkler head or a soggy patch in the yard usually means one thing: your irrigation sprinkler system repair can't wait. Left alone, a cracked line or stuck valve wastes water, drives up your utility bill, and starts killing grass within days here in Central Florida's heat. The good news is that most common sprinkler problems don't require a professional visit or a big budget to fix.
This guide walks you through diagnosing the issue yourself , from clogged nozzles and broken risers to valve failures and pressure drops. You'll learn which basic tools and replacement parts actually get the job done, plus the step-by-step process for shutting off your system safely, digging out damaged components, and testing your repair before you back-fill the trench.
We'll also tell you when a DIY fix stops making sense, like when you're dealing with buried mainline breaks or a controller that won't hold a program. After twenty years running irrigation systems for homeowners around Sebring, Lake Placid, and Avon Park, we've seen which repairs save you money and which ones turn into bigger headaches. Read on before you grab a shovel.
Before you begin: tools, safety, and diagnosing the problem
Getting your irrigation sprinkler system repair right the first time starts before you touch a wrench. Most sprinkler failures fall into a handful of categories: cracked heads, blown-out risers, stuck valves, or wiring faults at the controller, and each of these common sprinkler system issues has its own typical fix and price tag. Spend ten minutes walking your yard first. Look for standing water, dry brown patches, or heads that spray sideways instead of in their normal pattern. That quick inspection tells you which of the steps below actually applies to your situation, so you don't waste an afternoon digging in the wrong spot.
Gather your tools and parts
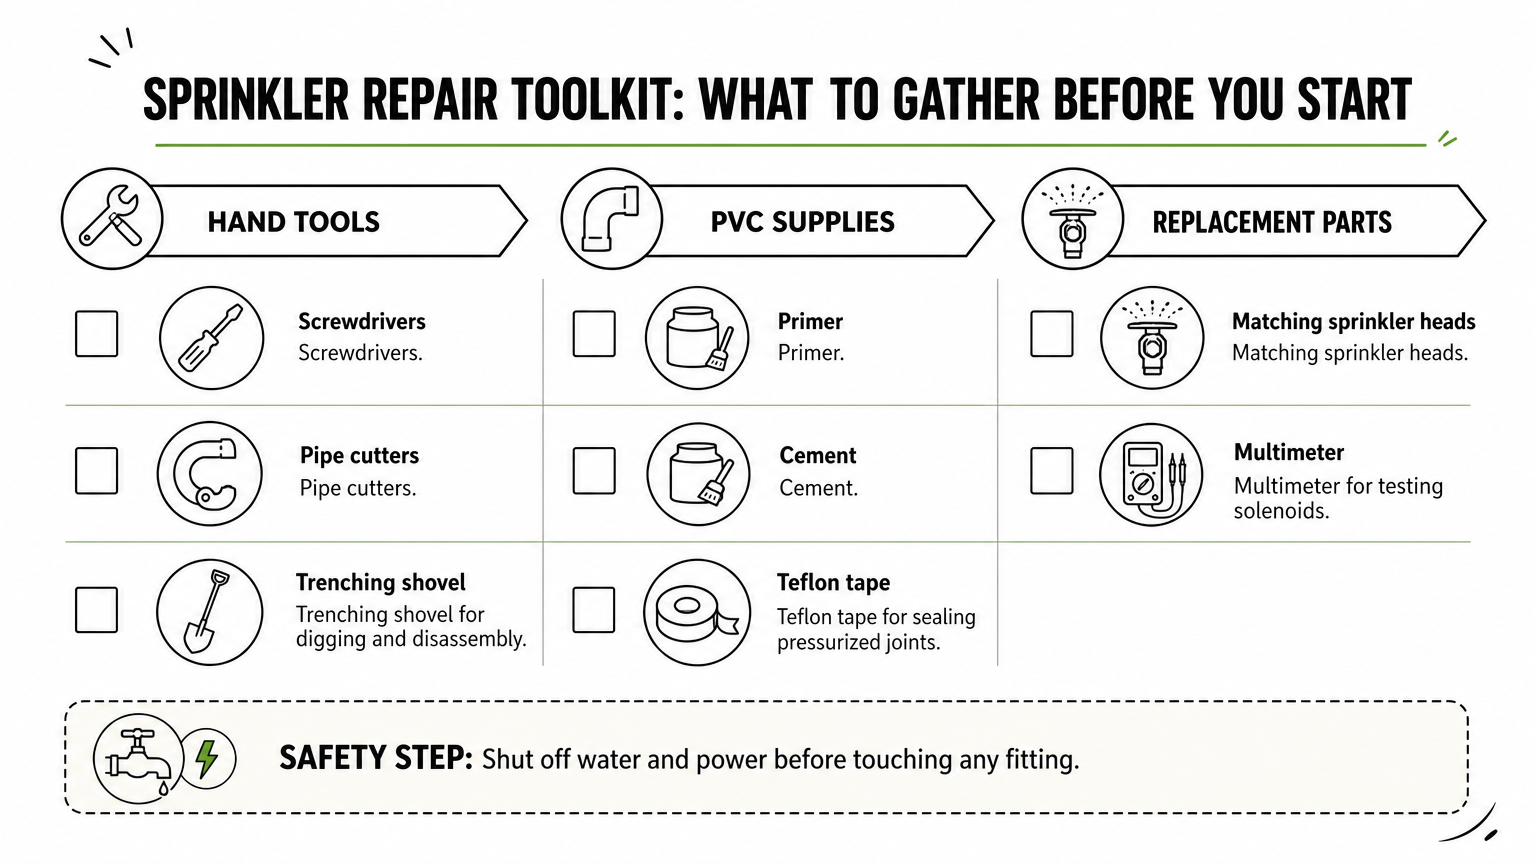
Having the right gear on hand keeps a simple fix from turning into three trips to the hardware store. Stock your kit with:
- A flathead and Phillips screwdriver
- PVC pipe cutters or a hacksaw
- PVC primer and cement rated for pressurized lines
- Replacement sprinkler heads matching your existing brand and spray pattern
- A multimeter for testing solenoids and wiring
- Teflon tape for threaded fittings
- A small trenching shovel
Bring your old, broken part with you to the store. Matching the exact model saves you a return trip and keeps your zone's water pressure balanced.
Safety first
Before any repair, shut off the water supply at the backflow preventer or the main shutoff valve, and cut power to the controller at that zone. Working on a pressurized line is how people end up soaked, or worse, hit by a fitting that pops loose under pressure. If your system runs on 24-volt AC power for the valves and controller, that current is low-risk, but you should still avoid handling wires while the controller is actively running a cycle. Call 811 before you dig anywhere near a suspected mainline break; buried utility lines don't care whether you meant to hit them.
Shut off the water and the power before you touch a single fitting, every time.
Diagnose the actual problem
Matching the symptom to the likely cause narrows your repair fast:
| Symptom | Likely Cause |
|---|---|
| Water pooling around one head | Cracked head or riser |
| Soggy patch along a straight line | Damaged lateral pipe |
| Zone won't turn on at all | Faulty solenoid or wiring break |
| Weak spray across the whole zone | Clogged filter or low pressure |
| Zone won't shut off | Debris stuck in the valve diaphragm |
Once you know what you're dealing with, you're ready to shut the system down and get to work.
Step 1. Turn off the system and locate the issue
Start every irrigation sprinkler system repair by killing power to the controller and shutting the water off at the main valve or backflow preventer. This isn't optional. A pressurized line can blow a fitting off in your hands, and a live wire at the wrong moment can trip a breaker or fry the controller board. Once the system is dead, walk the affected zone again with fresh eyes now that you're not chasing a spray pattern.
Narrow down the exact spot
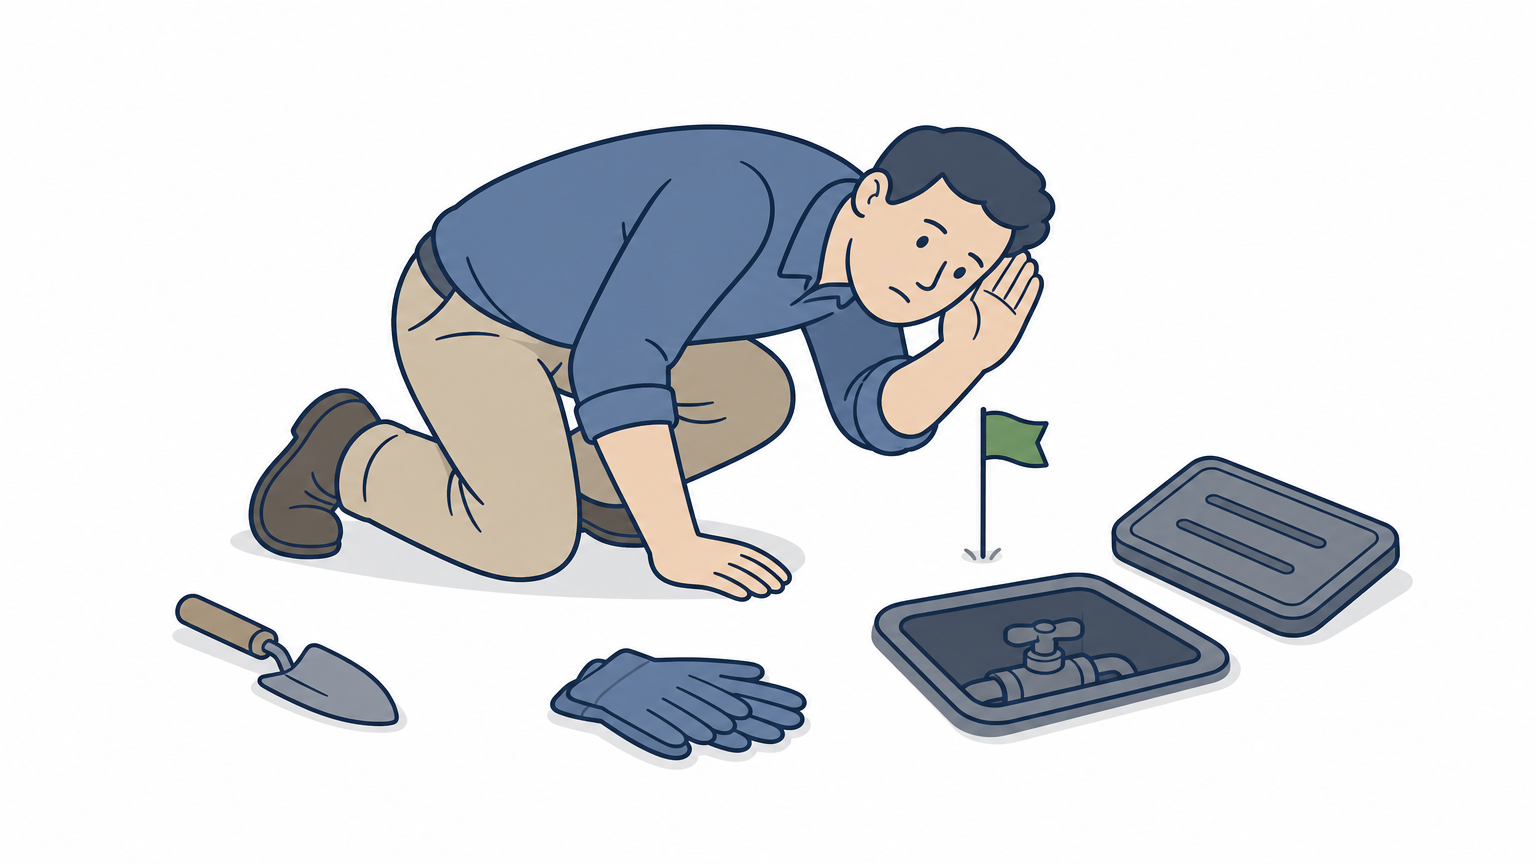
Grab a manual valve key or a flathead screwdriver and manually activate the zone valve if you can access it, so you can watch water flow (or fail to flow) without the automated timer running. Trace the lateral line by looking for the telltale signs: a sunken strip of turf, a bubbling patch, or a head that's tilted or missing its cap entirely. If nothing's obvious above ground, use a listening rod or simply press your ear near suspected trouble spots after briefly repressurizing the line for thirty seconds. That short burst is usually enough to reveal a hiss or a spray without soaking your yard.
Find the leak before you dig, or you'll spend more time filling holes than fixing pipe.
Mark the spot with a flag or a stake before you lose track of it. This step matters more than people expect. Once you start digging, disturbed soil and pooling water make it easy to lose your bearings, and re-locating a pinhole leak in mud is nobody's idea of a good afternoon.
Step 2. Replace or repair a broken sprinkler head
Broken heads cause most of the calls we get for sprinkler head repair, and they're the easiest fix on this list. A cracked head, a stripped nozzle, or a riser snapped by a lawnmower usually announces itself with a geyser or a puddle right at the source. Once you've confirmed the head is the culprit, dig a small circle around it, about six inches out, so you don't nick the supply line underneath.
Remove and inspect the old head
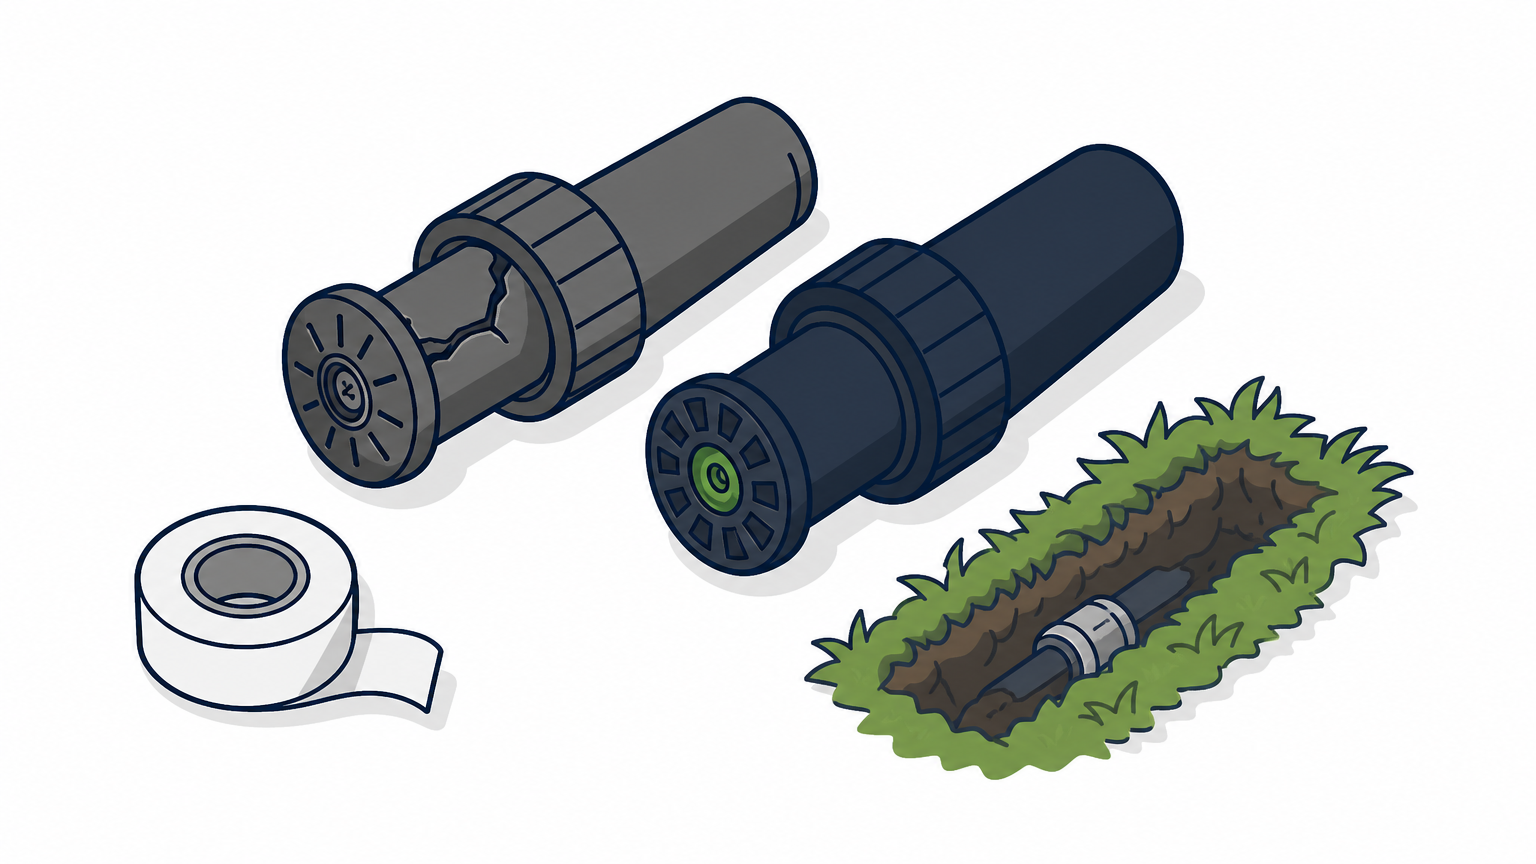
Unscrew the head from the riser or pull the pop-up body straight up out of its housing. Check the riser threads for cracks, and check the filter screen inside the head for grit or algae buildup. If the riser itself is snapped below grade, you'll need a riser extractor or a pair of channel-lock pliers to back out the broken stub before threading in a new one.
A five-dollar sprinkler head beats a hundred-dollar water bill every time.
Install the replacement
Match the new head to the old one's spray radius and pattern, whether that's a fixed spray, rotor, or drip emitter.
- Wrap the riser threads with Teflon tape.
- Thread the new head on hand-tight, then snug it another quarter turn.
- Backfill loosely and check that the head sits flush with the surrounding grade.
- Turn the zone on manually and watch the spray pattern for full coverage.
Adjust the arc or radius screw on the head itself if it's overspraying onto pavement or undershooting the far edge of the zone.
Step 3. Fix a leaking valve or damaged pipe
Valve and pipe failures cause more water waste than any other issue on this list, and they're the reason your irrigation sprinkler system repair sometimes means digging up more than a single head. A valve that won't seal lets water bleed through the zone even after the controller shuts off, while a cracked lateral pipe shows up as a soggy stripe running across the yard instead of a puddle at one point.
Confirm which one you're dealing with
Dig down carefully at the marked spot from your earlier inspection. If you hit a straight run of PVC with a visible crack or a split coupling, you've found your damaged pipe . If the trouble traces back to the valve box and water keeps trickling even with the zone off, the diaphragm or seat inside the valve is worn or jammed with debris.
A worn valve diaphragm wastes water around the clock, not just during your watering schedule.
Cut and repair the pipe
- Cut out the damaged section with a PVC cutter, leaving clean square edges.
- Dry-fit a slip coupling to confirm the length matches.
- Apply primer, then cement, to both the pipe and coupling.
- Hold the joint firm for thirty seconds while it sets.
- Wait the cure time listed on your cement can before repressurizing.
Rebuild the valve
Open the valve body, pull the diaphragm, and rinse away sediment or algae before reseating it. Replace the diaphragm outright if it's cracked or brittle. Test the zone manually before backfilling either repair.
Step 4. Troubleshoot electrical issues like solenoids and wiring
Zones that won't turn on at all, even with good water pressure, usually point to an electrical fault rather than a plumbing one. This is the trickiest part of any irrigation sprinkler system repair , since the failure hides inside a valve box or underground wire run instead of showing up as a puddle. A multimeter takes the guesswork out of it.
Test the solenoid first
Remove the solenoid from the valve body and set your multimeter to read resistance (ohms). A healthy solenoid typically reads between 20 and 60 ohms, depending on the brand. A reading of zero or infinite ohms means the coil is dead and needs replacing, which runs you fifteen to thirty dollars at any irrigation supply house, a fraction of what a professional sprinkler repair costs.
A dead solenoid reads zero or infinite ohms on the meter, no exceptions.
Trace the wiring
If the solenoid tests fine, the problem is likely in the wiring between the valve and the controller. Common culprits:
- A nicked wire from a prior digging project
- A corroded splice inside the valve box
- A loose connection at the controller terminal strip
Check continuity along the run with your multimeter, section by section, until the reading drops out. Splice any bad section using waterproof wire connectors rated for direct burial, not standard electrical tape.
When to call it
Whirring transformers, a controller that won't hold a program, or a short that keeps tripping the same breaker point to a bigger fault than a weekend fix can handle, which is when choosing an irrigation system repair company is worth the money. That's the point where TWQ's irrigation system repair and maintenance team steps in before a small short becomes a fried controller board.
Keeping your sprinkler system running smoothly
Most irrigation sprinkler system repair jobs come down to the same short list: a cracked head, a stuck valve, a split pipe, or a bad solenoid. Handle each one with the water and power off, confirm the fix before you backfill, and you'll solve the majority of issues that show up in a Central Florida yard. Test your zones monthly even when nothing looks wrong, or book a sprinkler system wet check inspection to have every zone checked for you. Catching a slow leak or a weak solenoid early saves you from a dead lawn and a inflated water bill down the road.
Not every repair belongs in your weekend toolkit, though. Buried mainline breaks, a controller that won't hold its programming, or wiring faults that keep tripping breakers call for someone who works on these systems every day. When you'd rather hand off the troubleshooting than spend another Saturday in a trench, let TWQ handle the irrigation repair and get it fixed right the first time.